Diamond in the Rough: Voltaire style

I’d needed to buy a new dressage saddle after getting Archie, but couldn’t find something I liked. Or if I could, finding it with short flaps was impossible or it was way out of my budget. I test rode practically everything at the barn. Of course, Archie had a clear favorite… the Voltaire Adelaide. Go figure, my horse likes expensive French leather just like my butt.

Riding in a barn mate’s Voltaire

Adelaides aren’t impossible to find used, but they’re $$$, even for a French saddle. I figured maybe if I saved my pennies, I’d be able to afford one from the UK. After all, that’s how I found my Devoucoux, which is pretty much my unicorn saddle (18″ 1AA hello).

The Unicorn

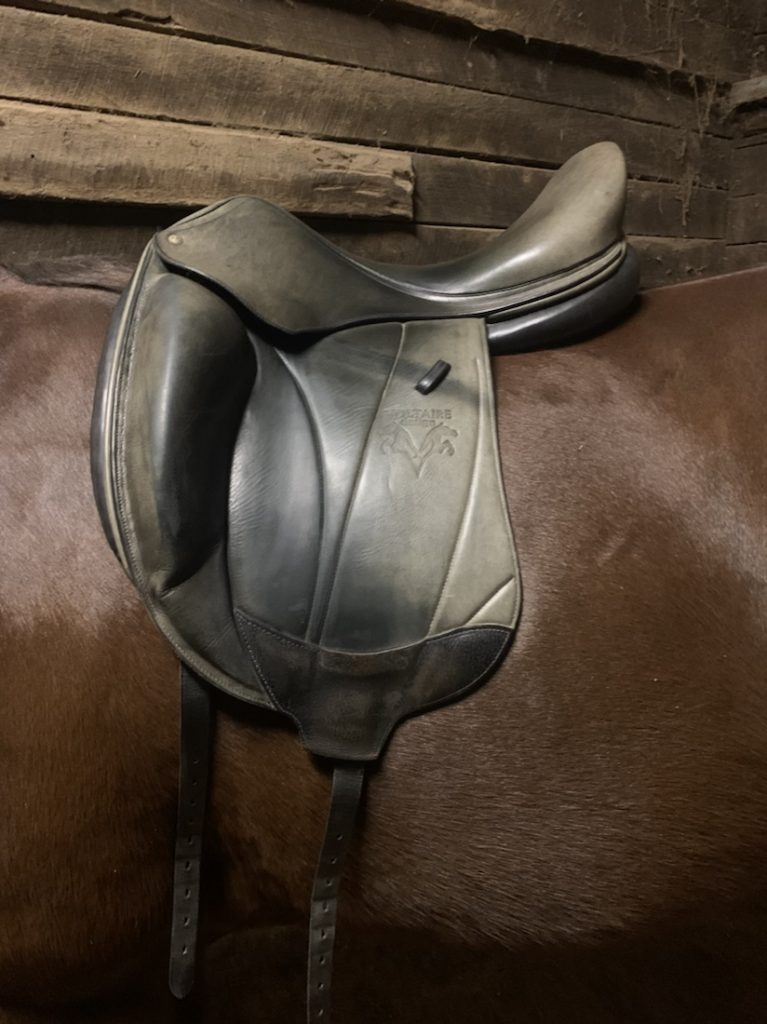
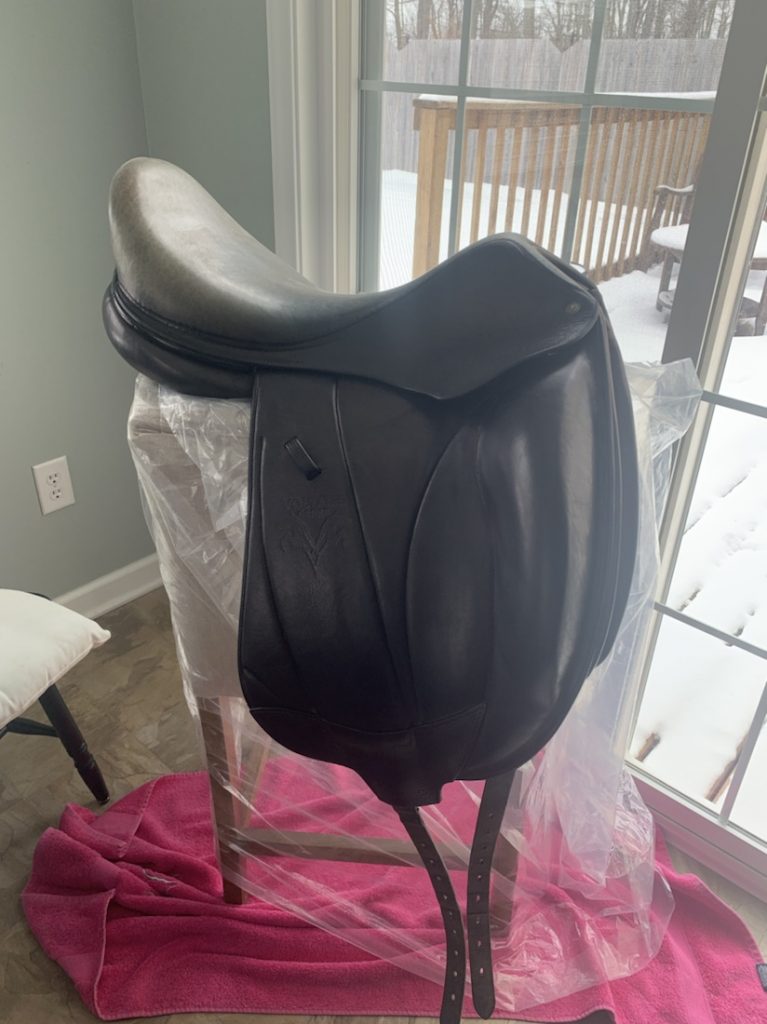
And then… fate stepped in. In the form of a used Adelaide at Pelham Saddlery. In an 18″, PRO D10 panel (aka exactly what Archie needed) and 3A flap – except a 3 in the Adelaide measures 15.25″ or in other words, a short flap, and… in (actually UNDER) my budget. The problem? It was GREEN. Like light olive sage green.

GREEN
But also like, grey? Ombré?

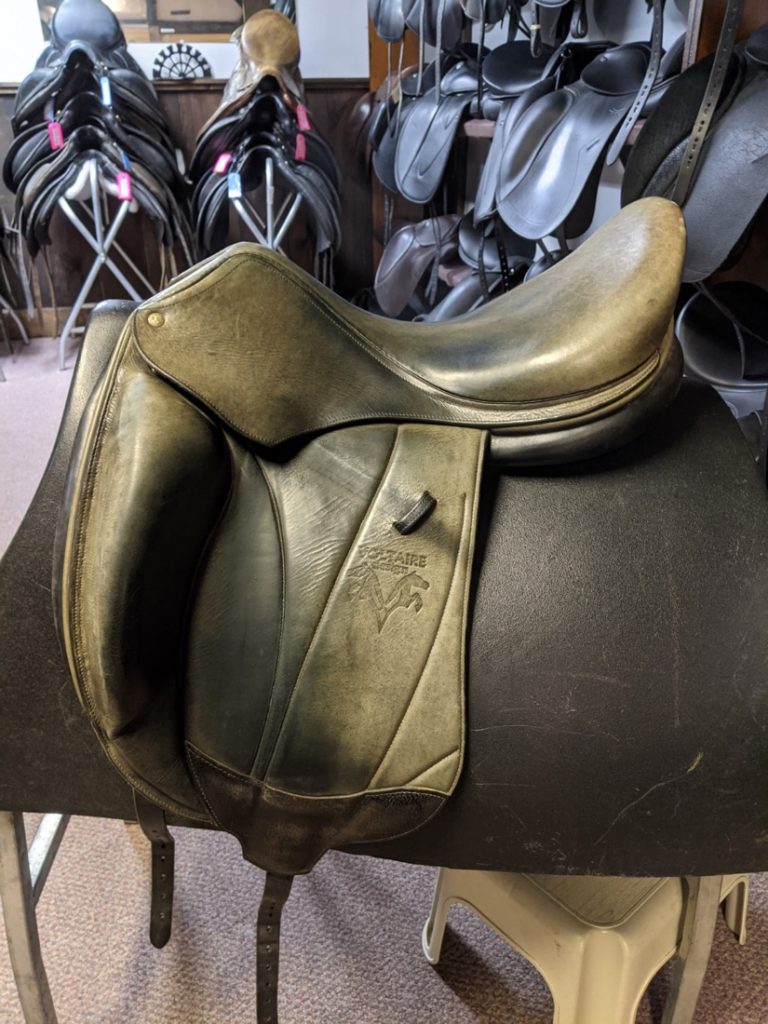
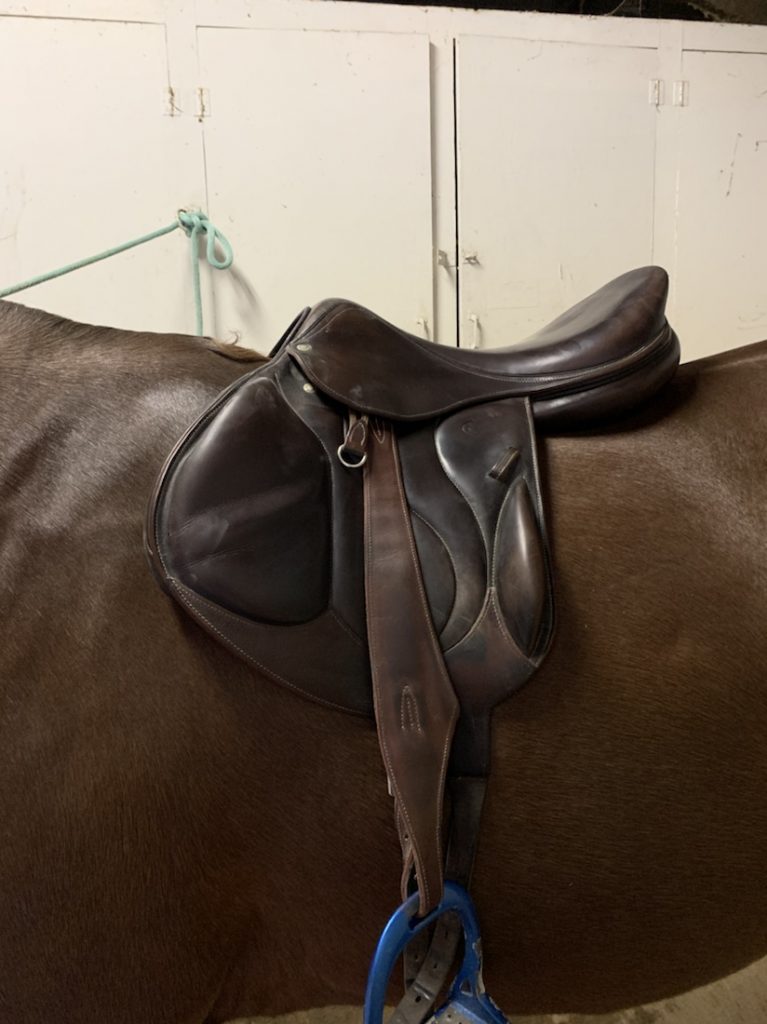
Amanda and Emily told me I’d be able to dye it most likely and with that, the green Voltaire was on its way to me. When I pulled it out, I was pleasantly surprised it was actually in great shape. The billets looked practically new, the panels felt great, it was just… green. It fit Archie, it fit me… so the check cleared and I bought dye supplies online and the adventure began.

One flap done
First coat of dye

I won’t bother giving a how-to – Amanda has done a much better job of that with the handful she’s dyed. Just be prepared – I didn’t realized quite how much buffing the damn thing was gonna take. I had a sore arm for a week.

All done 😍
Anything that looks like unevenness is just the weird lighting in my kitchen
And then I added rainbow stirrups and it got even better
Most recent shot, in which Archie looks SUPER EXCITED about our dressage lesson

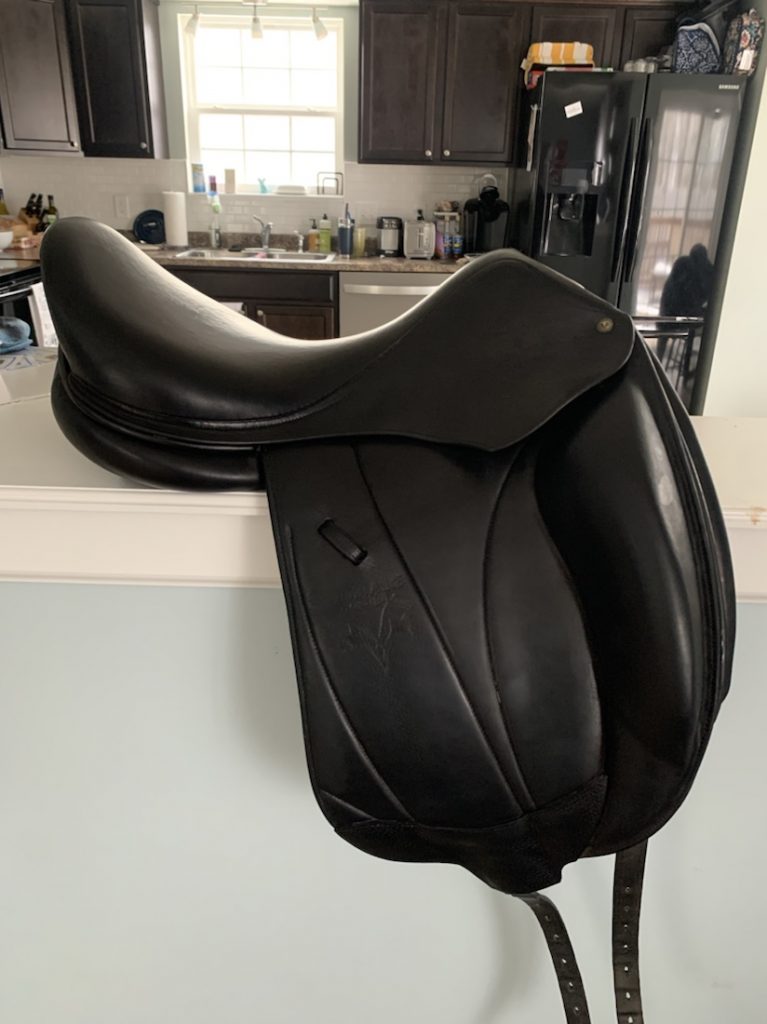
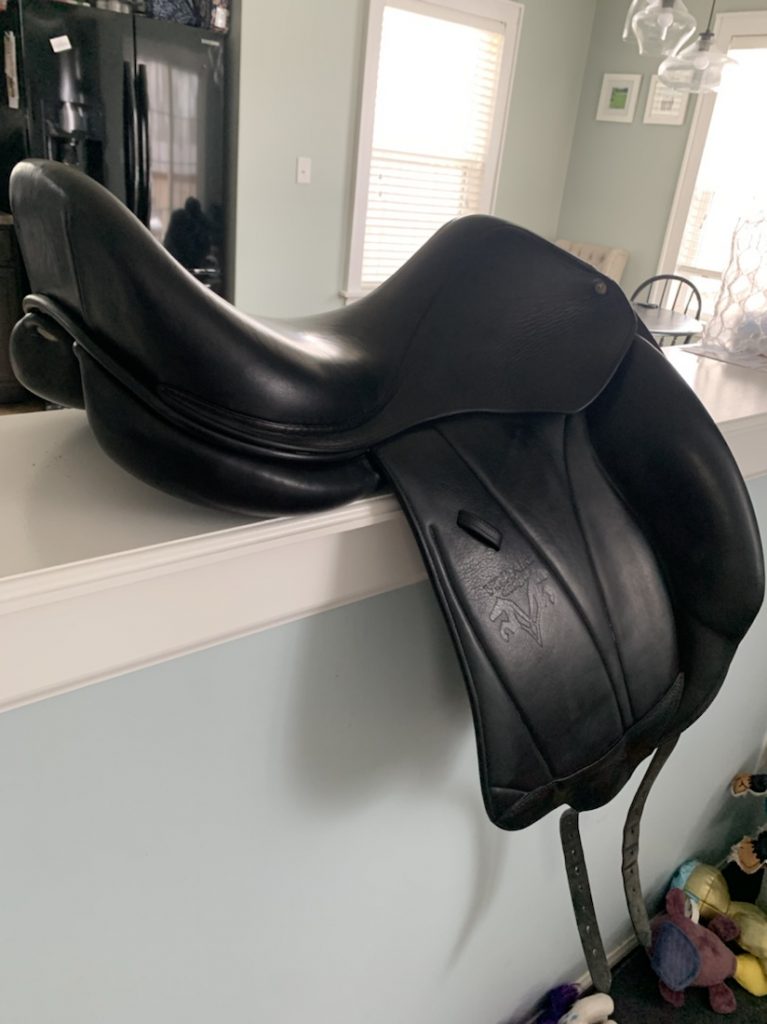
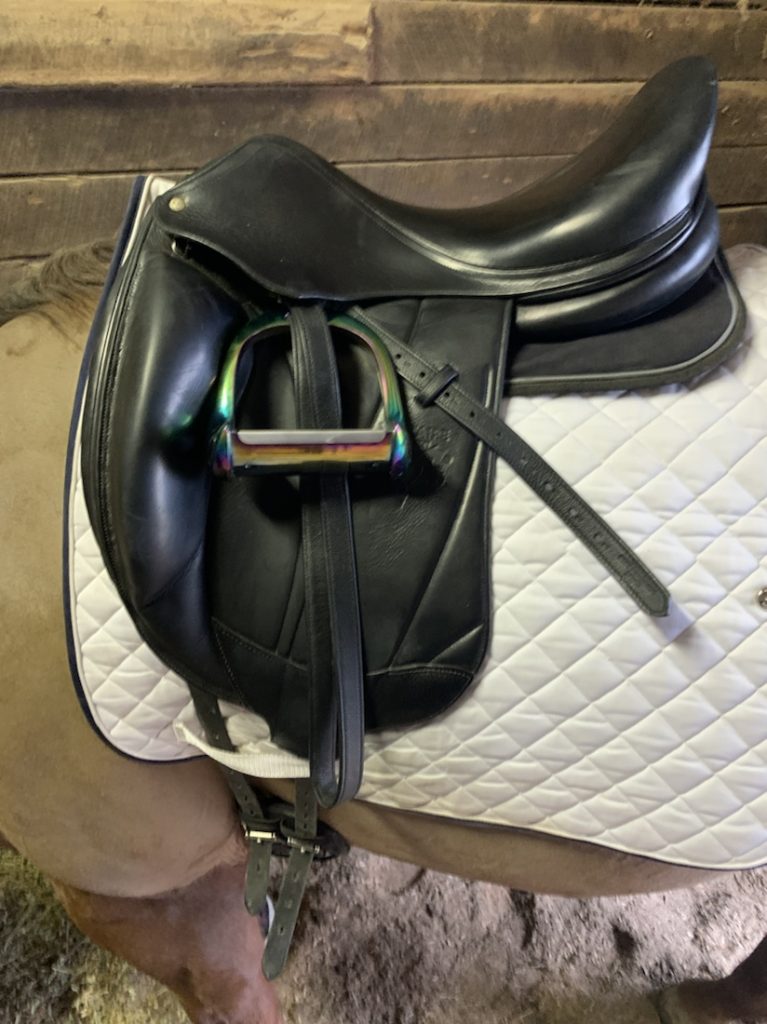
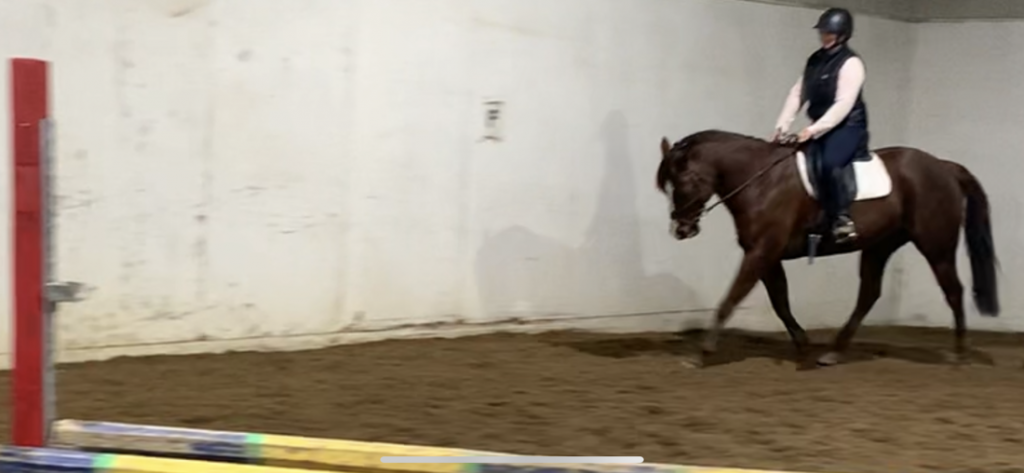
It’s been almost 2 months since it was dyed with consistent riding and I’m still so pleased. I’ve ridden in all colors of breeches, it’s gotten wet (not like, soaked, but sprinkled) and no dye has come off. It needs a cleaning and conditioning session after being in my tack locker, but that’s just normal upkeep. Best of all, it’s improved my dressage riding tremendously and Archie is still going phenomenally in it.

Continue Reading

DIY Dyeing a Sun Shirt Ombre

After seeing Kelly and Amanda take their stab at dyeing sun shirts, I too, wanted to be fun and trendy. I used a cheap SmartPak sunshirt, which I’ve also discovered I really like, so added bonus there.

My first shot was tie dye. I REALLY wanted a tie dye sun shirt (yes, according to Emily I am on a one-woman mission to get kicked out of the barn for wearing ridiculous outfits). I bought the RIT Synthetic Dye, got set up and… dove in. Knowing you have to keep the shirt in the dye, submerged, I didn’t think I’d be able to do multi color tie dye, but I figured maybe a single color starburst? Rubber banded it up like old-school tie dye, pushed away my summer camp 2001 memories and went for it. Unfortunately, because of the way the dye sinks in and spreads around, it all just turned… pink.

What I wanted
What I got

Dismayed, I washed it, tossed it into a pile and stopped thinking about it. Then Amanda’s posts popped up and we started chatting and she threw it out – ombre.

Game on.

So I used the last of my dye, took the shirt and put it into the pot bottom first, keeping it sort of.. upright? Just so it didn’t go in like a wad of fabric. I set timers on my phone for 10 minutes and every 10 minutes, I pulled a little bit out (so the collar stayed out, then gradually I’d pull a little more out of the pot). I draped it on the handle of the pot I was using, although it was a little ghetto and I definitely got dye water all over the place. This wouldn’t work if you have a gas stove, you might have to hold it or find a way to like, string it up?

I’d keep stirring the pot to keep it swirling around the entire shirt while I was waiting (great time to catch up on EquiRatings podcasts). After about an hour, I pulled the entire thing out, followed the rinsing directions and tossed it into the wash.

This morning, I had this!

Overall, I’m calling it a success because I think it’s pretty cool looking, albeit not perfect.

If I did it again I’d change a few things:

  • Bigger pot – allow it to lie flatter and I think would help not cause any splotchy spots
  • Timer at 5-8 minutes and move it reaaallllyy incrementally. Mine goes to dark a little higher up than I’d like it to
  • Find a way to suspend it above the pot and gradually raise it? This might be more of a feat of engineering than I’m willing to go for, BUT I think it would make the dye really even across
  • Zip the collar

That’s all there is to it! It wasn’t hard, just a bit messy, but it all cleaned up pretty easily (minus my hands which are tinted pink because I basically never wear gloves for anything). Let me know if you try it and what your results are like – and if anyone figures out tie dye OMG TELL ME HOW.

Continue Reading